Every spring, most of us find ourselves taking on projects as we come out of hibernation. This spring, while a bit different, is allowing us more time at home to clean our closets, organize, train for a marathon, or…go a bit crazy in the yard. Let me take a moment to say that Portland has some of the finest gardens in the world. One of my friends from Seattle even called our city’s favorite pastime “competitive gardening”. Personally, I have a list of outside projects to keep the family busy for a long time. In order to re-motivate myself and hopefully inspire others, I am going to share my backyard story from last spring. Keep in mind that each paragraph below is a weekend or 2 of actual labor with 2-4 workers.
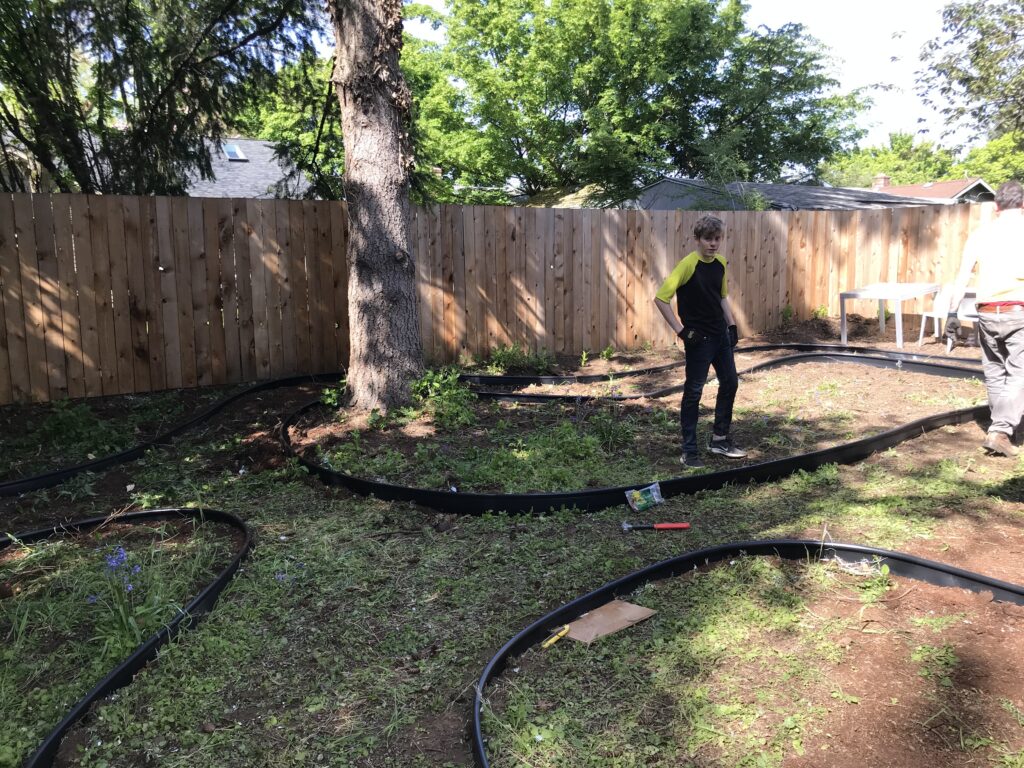
On a fine April morning in 2019, I decided to take my coffee outside and hang out in the backyard. To my horror, the months of showers brought a jungle of waist high weeds, growing out of what I had thought to be a mulchy, forest floor under a Doug Fir. One of the reasons my significant other and I had purchased the house was to have awesome outdoor space, and we knew it was going to take some time and effort. Here was our first big project! My sweetie took a quick look at the mess and decided to fast track the project (he’s a bit meticulous and likes to keep very busy). We had been discussing a Japanese garden for months, so he sketched out a design on our son’s graph paper, and I called my parents to let them know we could use their help (they are the true green thumbs. I am a rookie).
Our first stop was The Home Depot, to find something to outline our path through the garden and keep the rocks we would be bringing in out of the mulch. We chose black plastic edging, about 4.5 inches in height. A 60-foot roll of this is about $30, and we would need 3-4 of them. There were other attractive options, but this was the right price. Digging mini trenches for the edging was a bit of a workout. We found that dragging a hammer in the dirt helped “bulldoze” a bit of a path in which we could then partially bury the edging. We also grabbed a few rolls of weed barrier fabric to lay down on the path where the gravel would eventually be. This was a very good move. I cannot imagine how much more we would have to weed if we had not done so.
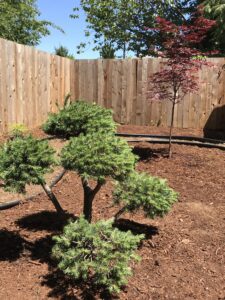
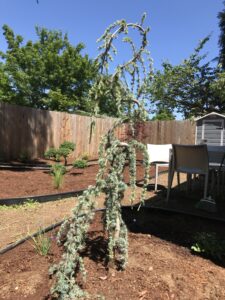 Now it was time for some of the planting fun! We chose a few beauties to be focal points in the garden, including a Japanese maple, weeping blue cedar, bonsai and a pink hydrangea and rhododendron. Additionally, we planted a handful of ferns and grasses in groups of 3. We are fans of not over planting and giving everything room to grow. These were purchased from multiple Eastside businesses including Portland Nursery, and Tony’s Garden Center. After a bit of deliberation on where to place the plants, the digging commenced.
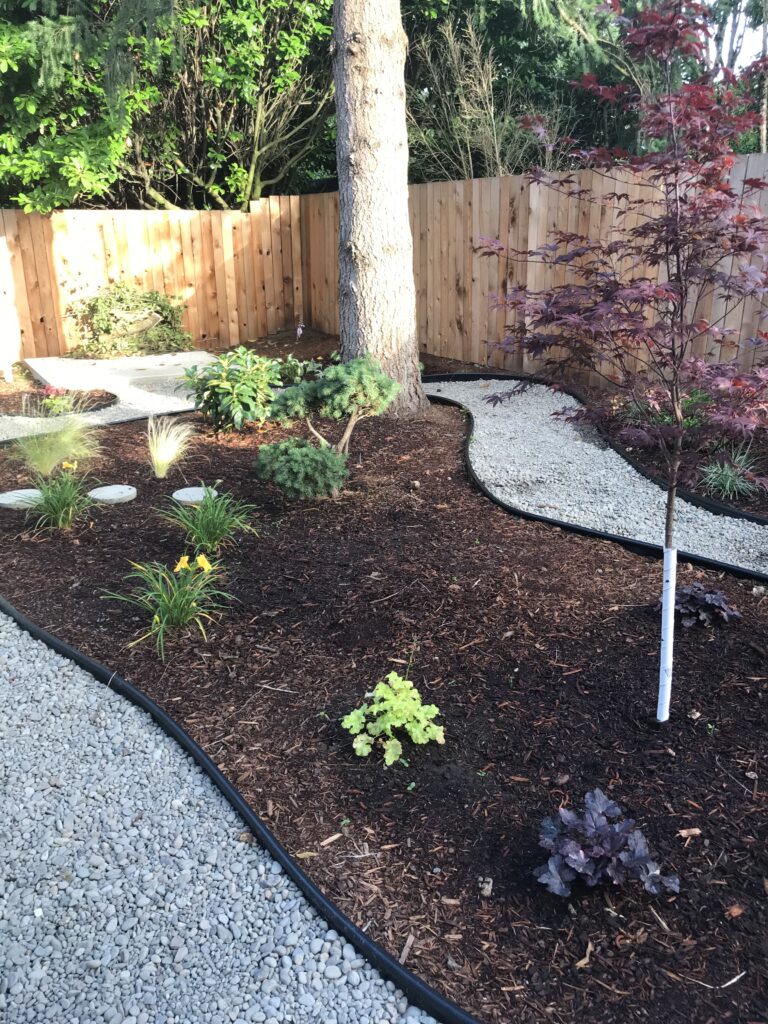 With the plants in place, it was time to purchase mulch and rock. Lucky for us, fabulous Mount Scott Fuel is right up the street. If you have access to a pick-up truck you can avoid paying for delivery. They will load the product right into the bed of your truck, saving you quite a bit of money. We did this and found it easy to shovel out of our truck directly into the wheelbarrow that we borrowed from our awesome neighbor. Ultimately, we bought 3 yards of mulch, and had to make multiple trips to do so. (Caution-Do not overload your vehicle. Check weight limits)! Prices range from $32-45/yard if you pick up, and $100-130 if delivered. The following weekend was a similar routine, this time to purchase 2 yards of river rock. There are many different types of rock here, and you can check out samples in the office, and go into their yard to look at the big piles and get a different perspective. We opted for what I would call medium sized for ¼-¾ inch river rock to minimize gravel being tracked into the house. Our choice was very reasonably priced at $40/yard. Delivery would have been $115 for one yard, with discounts for 2 plus yards. Hauling the rock to the backyard was a bit more strenuous than moving the mulch, so it was helpful to have our strong 14-year old son around.
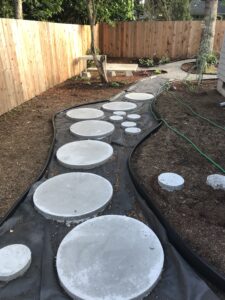 One of our final tasks on the project was to produce our own concrete circles in the path. My partner had a bit of experience working with concrete from his previous house, and he was excited to put his cement mixer to use again. To create the large circles, he constructed molds out of fiberboard and we placed them in the empty path. Then the concrete was mixed and poured in multiple batches. We made the small circles off to the side and simply placed them in the path after they were dry, and then finished filling in the river rock.
We spent a lot of time outside last year, and with spring’s arrival we are planning this year’s project: raised beds and vegetables, perfect for homeschooling and saving money on groceries!